07-Valentines Dance Photo retouch
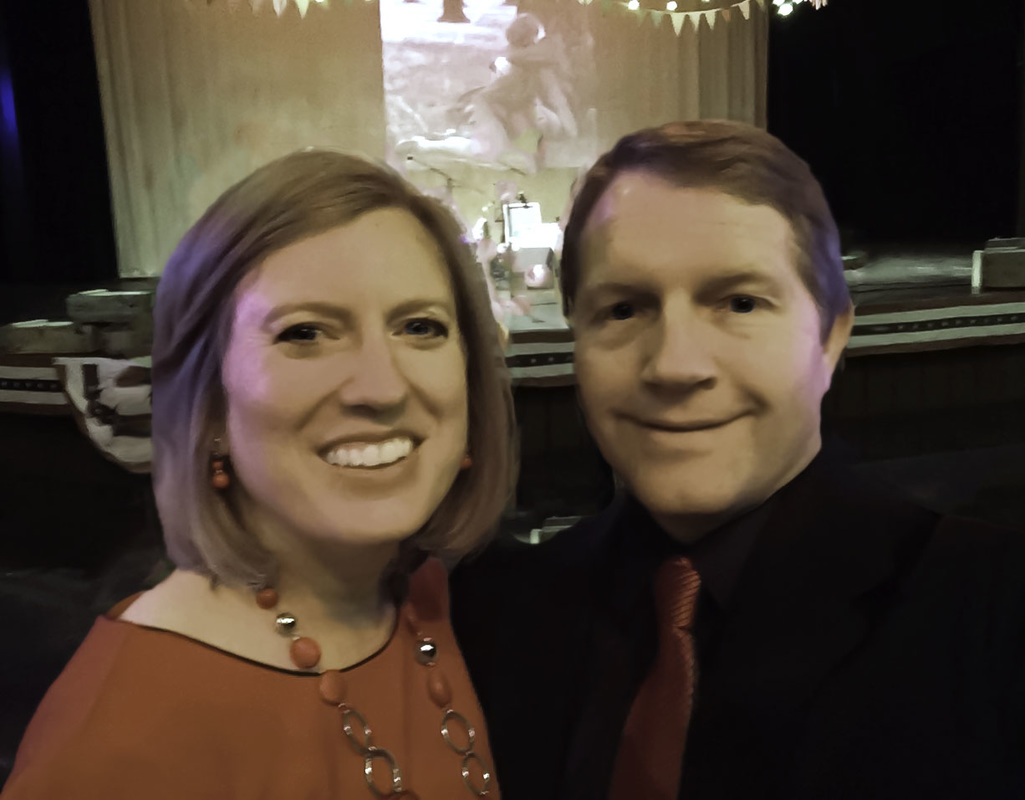
This photo is of me and my wife at a Valentines dance that we attended. The lighting in the building was very red. This resulted in a photo that was very red and quite grainy. It was also a selfie so my left shoulder looked contorted.
I thought that this would be a good photo to try out the retouching skills. It turned out to be more of a challenge than I expected or hoped for, especially fixing the color and the graininess.
I thought that this would be a good photo to try out the retouching skills. It turned out to be more of a challenge than I expected or hoped for, especially fixing the color and the graininess.
Preparation:
Features
Credits:
- I tried to make initial color adjustments in Camera Raw, but I ended up in Photoshop using a technique with the photo filter (http://www.photoshopessentials.com/photo-editing/photo-filter/). That worked pretty good, but I feel like the skin tones, highlights, and shadows are not quite right.
- I did use the Camera Raw filter in Photoshop to get rid of the graininess.
- I also added a brightness/contrast filter.
- Then I added a layer mask to bring back some of the red in the dress and tie.
- All of that took care of the worst of the color and grain problems.
Features
- I created a selection of the couple to remove them from the background with a content-aware fill so that the couple shapes could be adjusted using liquify. I also had to use liquify on the background to get it to fit the adjusted couple shapes.
- I adjusted the whiteness of the woman's teeth with layers to adjust the core and the sheen of the teeth. I adjusted the opacity of the final adjustment so that the teeth did not stand out too much from the rest of the photo.
- I adjusted the brightness, detail, and color of the eyes of the woman and man.
- I did experiment with a layer to adjust the skin color, but that is not part of the retouch. Perhaps I will experiment with that more.
- I used the clone stamp tool in "lighten" mode to lighten the wrinkles next to eyes.
- I used the blur tool to soften the edges of the couple so it would blend better with the background.
- In my Photoshop file, in the top left area I added the text "Be Mine" in a shade of pink with a copy of the text in a red with a bit of a glow. I think that it helps with the residual red color of the photo and helps convey that it is a Valentines photo. I did not have that text on in my first retouch.
- I added a selective color layer and increased the cyan (which seems to lower the red) and then I raised the yellow.
- I added a levels layer and increased the light.
- I added a mask to show just the faces and necks and used the blur tool to get rid of some of the graininess that came back.
- The font used in the "Be Mine" version is Brush Script Std at 48pt.
Credits:
- Fonts used: Brush Script Std

"Be Mine" version
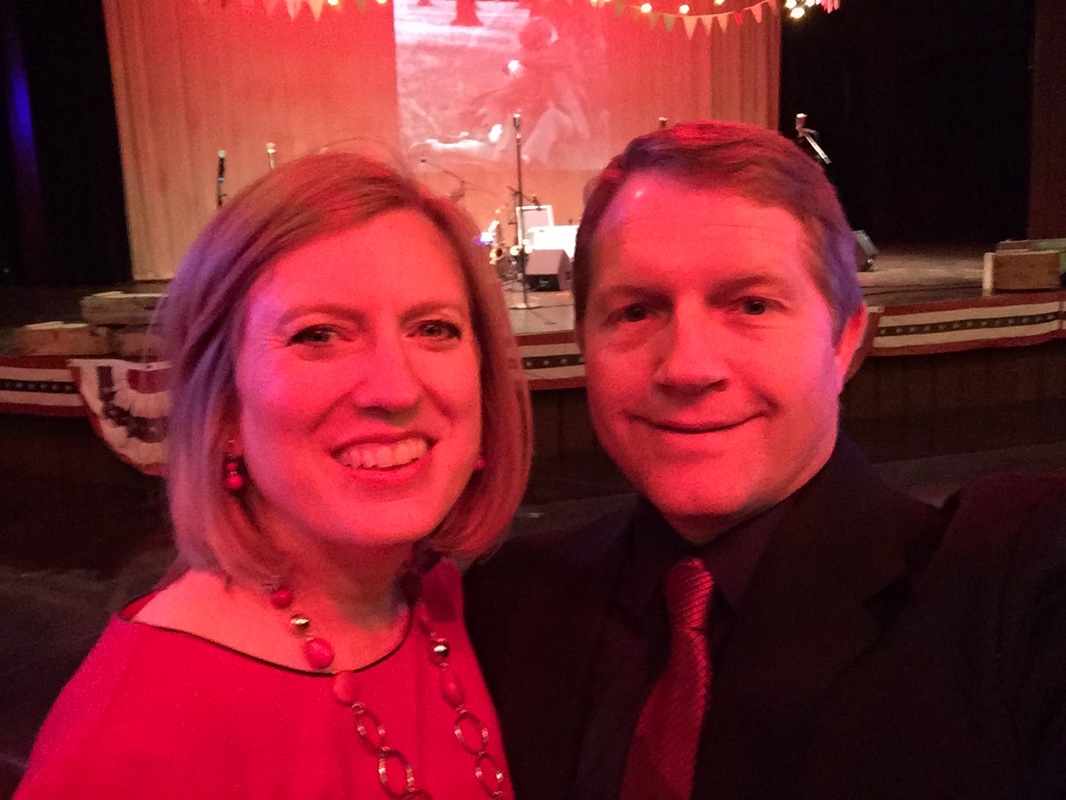
Original image
